Launch a new session of the N7610C software. The Welcome screen appears.
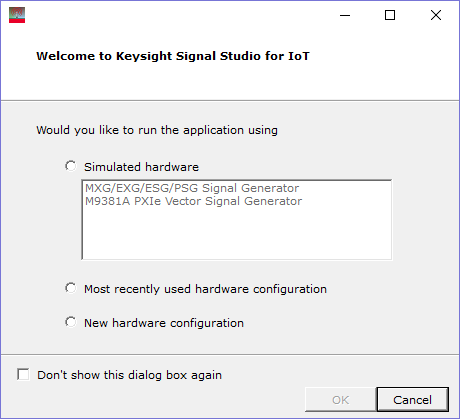
Select to begin the System Configuration Wizard, which guides you in connecting to your instrument.
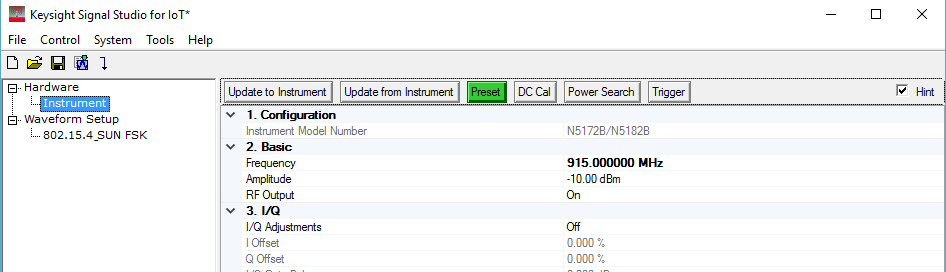
Click in the tree view and verify that your signal generator has installed the N7610EMBC or N7610EMBC-TRL license for LoRa CSS.

Click in the tree view and configure the instrument parameters, such as Frequency and Amplitude.
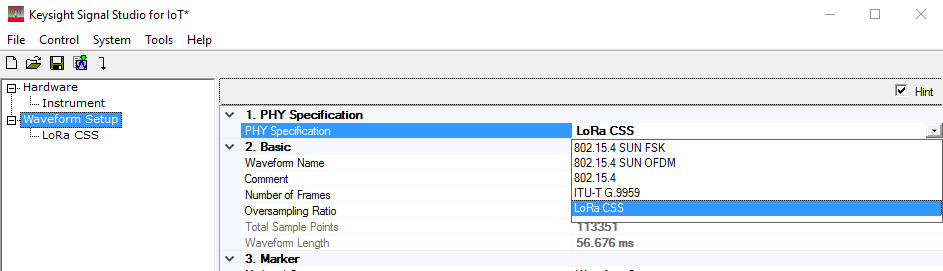
Click in the tree view, then click and use the drop-down menu to select .
Click in the tree view and configure the waveform parameters.
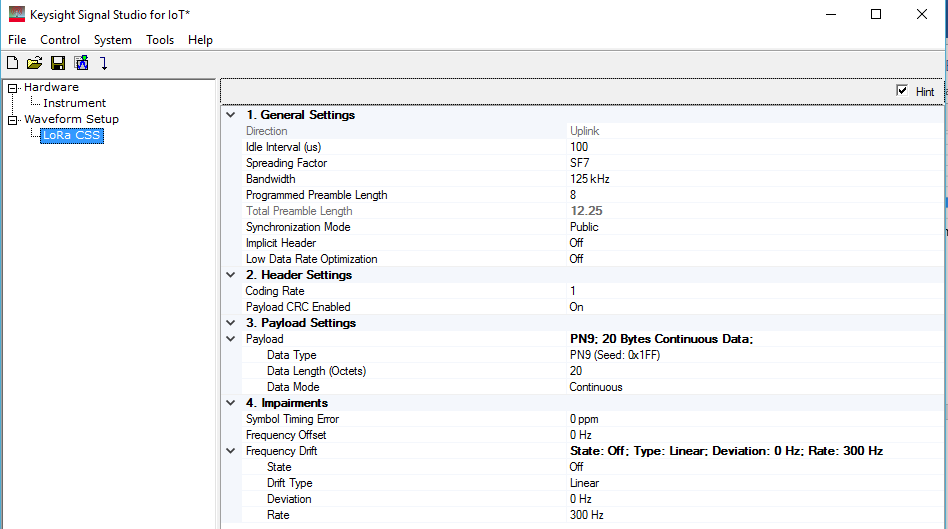
To add distortion to LoRa CSS signal, configure the settings under .
-
Set Symbol Timing Error to add timing error
-
Set Frequency Offset to add frequency offset.
-
Turn on Frequency Drift and set the Drift Type/Deviation/Rate to add frequency drift.
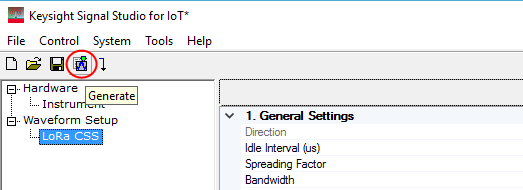
Click the button.
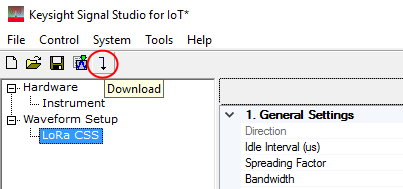
Click the button to download the waveform to your instrument. Or you can export the waveform by following steps 10 to 13.
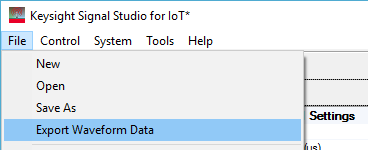
Under the File menu, select .
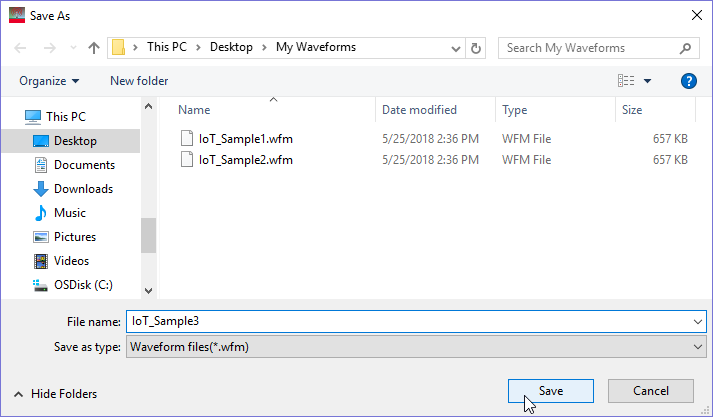
Name the waveform file and save it to your PC.
Copy the waveform file to a portable USB storage device.
This would be a good time to also save a backup copy of the waveform file.
Insert the USB storage device into a USB port on the instrument and copy the waveform file to the proper directory, as described in the instrument's documentation.